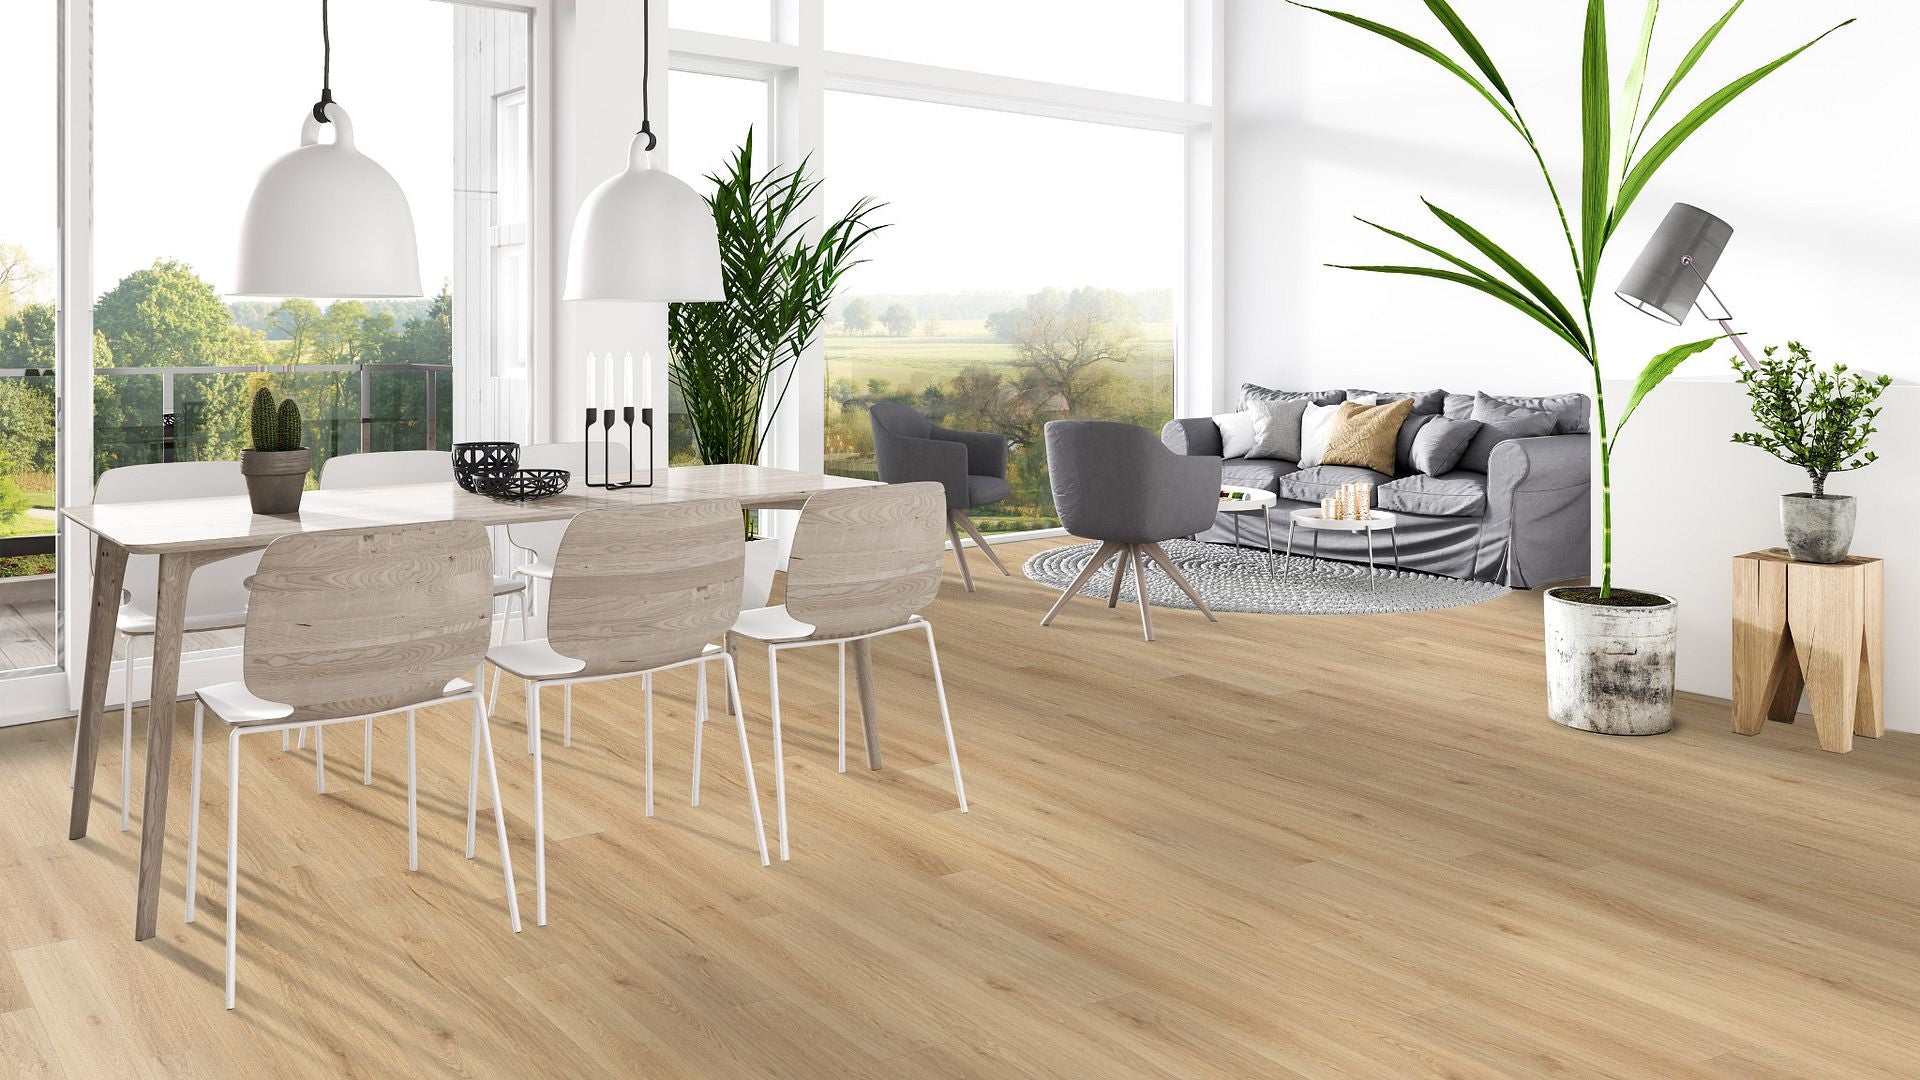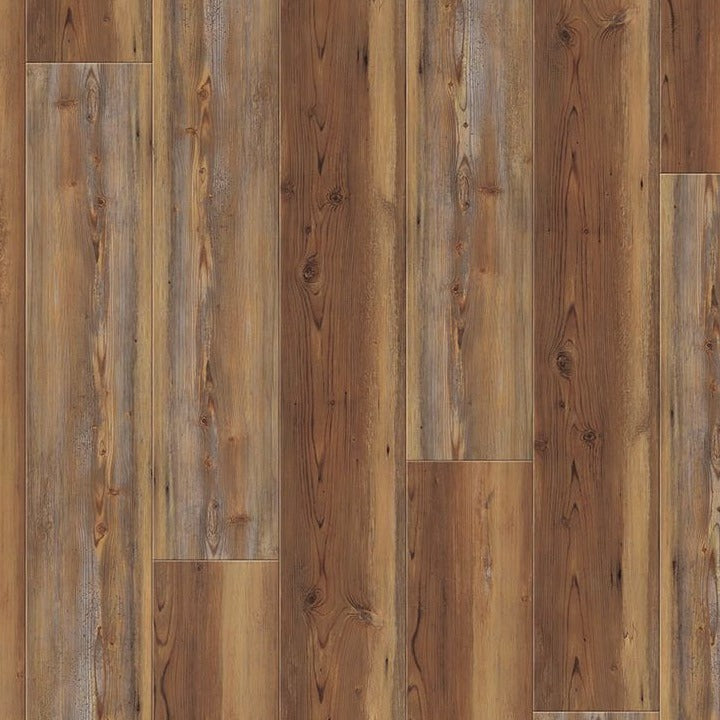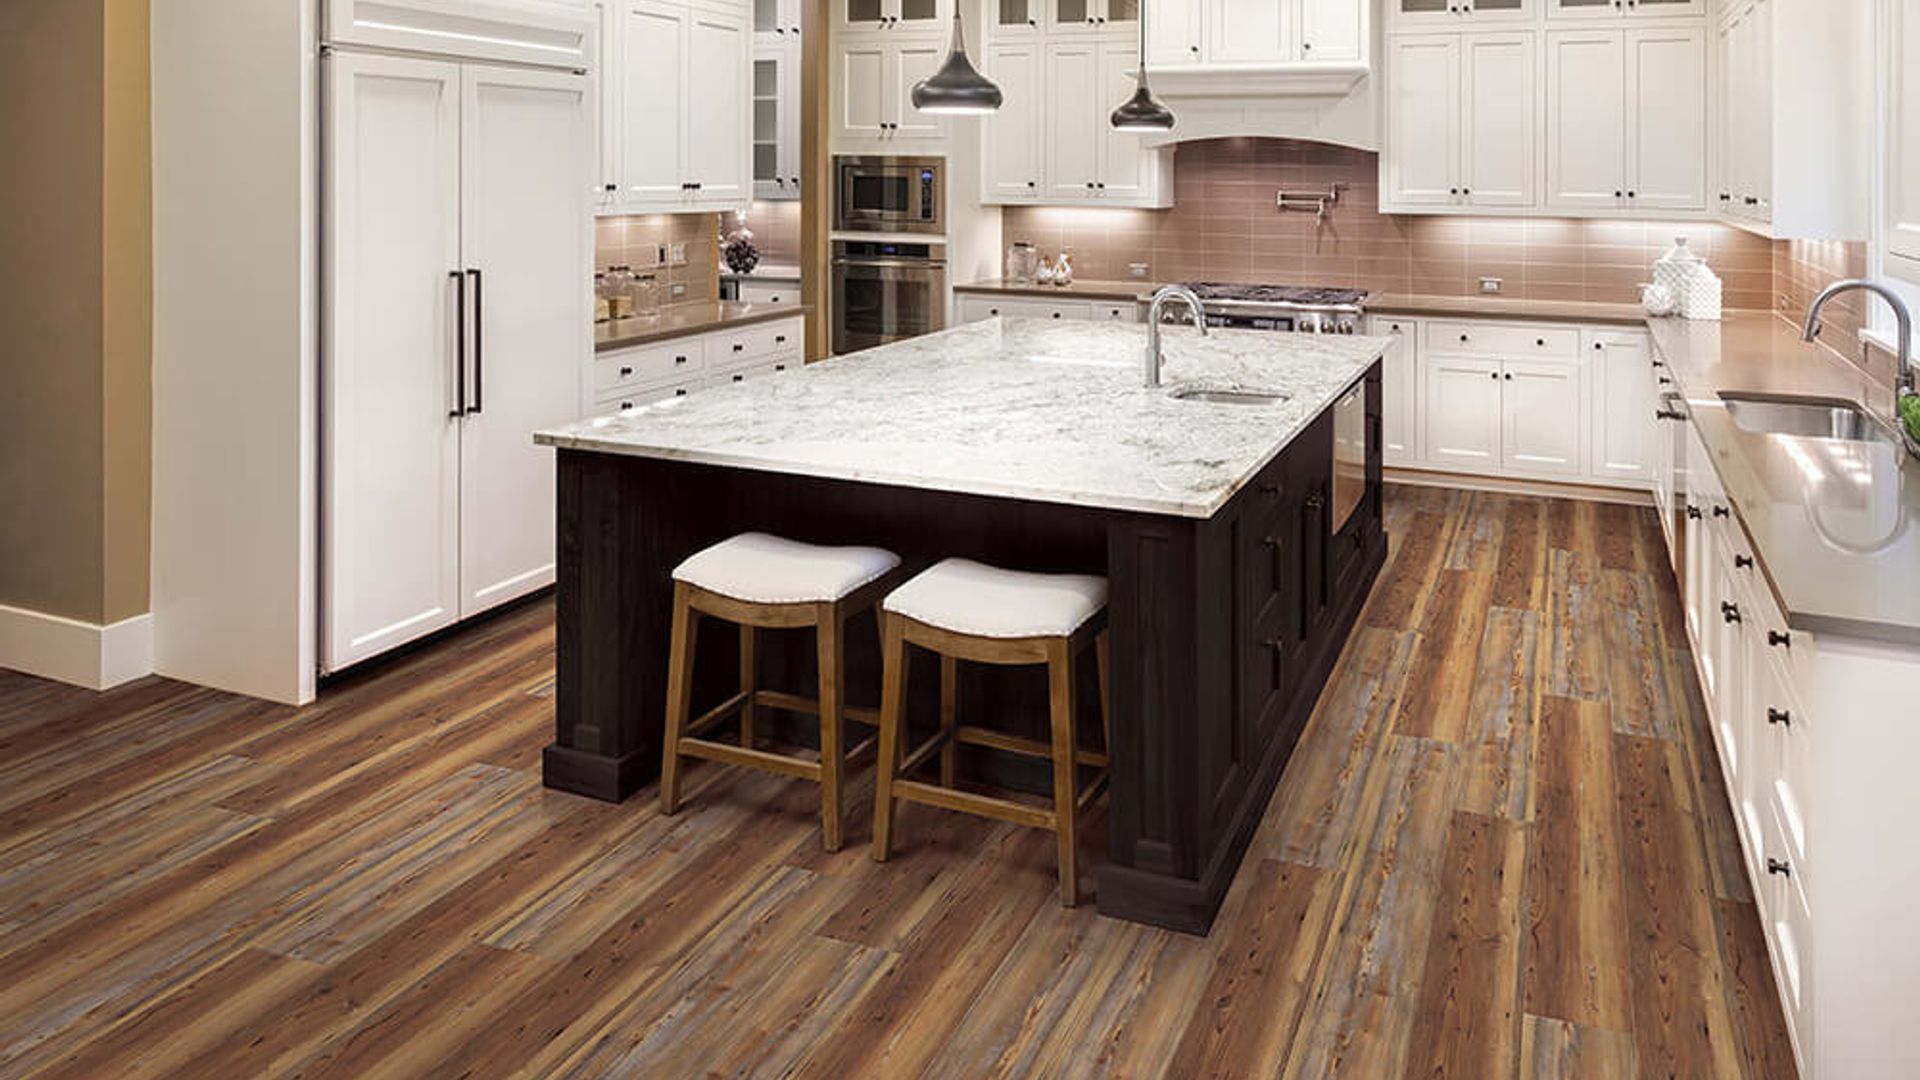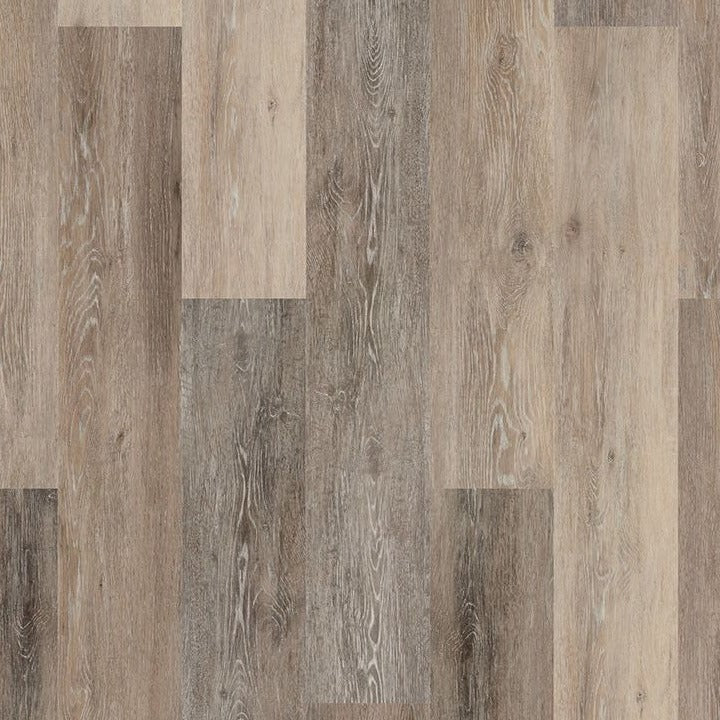
Installing Shaw laminate flooring is a rewarding home improvement project that provides long-lasting beauty, waterproof durability, and a realistic wood look. Whether you're a seasoned contractor or a first-time DIYer, this detailed guide will walk you through everything—from preparation and subfloor testing to trimming the final plank. This expanded version breaks down each step in full detail, offering professional insight and guidance at every phase of the installation.
1. Pre-Installation Requirements: Site Conditions & Acclimation
Before any plank is installed, ensure the space is climate-controlled and ready:
-
Temperature: Maintain a consistent indoor environment between 65°F and 85°F. Avoid sharp temperature fluctuations.
-
Relative Humidity: Must remain between 35% and 65% before, during, and after installation.
-
HVAC: All heating and air conditioning systems must be operational.
-
Other Trades: Installation should begin only after all other construction work (drywall, painting, plumbing) is finished.

Acclimation:
-
Shaw laminate does not require acclimation when installed in climate-controlled spaces. However, keep all flooring in the room where it will be installed for at least 48 hours to stabilize temperature.
-
Do not stack boxes vertically. Lay them flat.
-
Avoid placing boxes near heating vents or in direct sunlight, as this can alter material moisture content.
2. Subfloor Preparation & Moisture Testing
A. Cleaning & Levelling:
-
Sweep or vacuum thoroughly.
-
Remove all debris, nails, adhesives, and paint from the subfloor.
-
Repair low spots using Portland-cement-based levelling compounds.
-
Sand or grind high spots until the floor is flat.
-
Floor flatness tolerance: maximum variation of 1/8 inch in 6 feet or 3/16 inch in 10 feet.

B. Moisture Testing for Subfloors:
Concrete:
-
Use a reliable concrete moisture meter. Moisture should not exceed 4%.
-
If moisture is above 4%, conduct a Calcium Chloride test. Acceptable result: <5 lbs./1,000 sq. ft./24 hrs.
Wood Subfloors:
-
Use a pin-type wood moisture meter.
-
Moisture content must not exceed 12%. Higher readings require checking the crawlspace or basement for moisture intrusion.

C. General Guidelines:
-
Subfloors must be structurally sound and free of movement.
-
Install over concrete, OSB, plywood, ceramic tile, terrazzo, vinyl, or marble.
-
DO NOT install over carpet, glued hardwood over concrete, or sleeper systems.
3. Underlayment & Vapor Barrier Instructions
If Product Has Attached Underlayment:
-
Concrete Subfloors: Lay a 6-mil polyethylene vapor barrier over the slab. Overlap seams 6–8 inches and seal with moisture-proof tape.
-
Wood Subfloors: No vapor barrier required.
If Product Lacks Attached Underlayment:
-
Install a premium-grade acoustical underlayment.
-
Follow the underlayment manufacturer’s guidelines exactly.
-
Roll it out along the longest wall and ensure it lies flat without gaps or bunching.

4. Planning the Layout & Expansion Gaps
A. Expansion Requirements:
-
Always leave a 3/8" expansion space around walls, columns, pipes, door frames, cabinets, and any vertical obstruction.
-
Use spacers to maintain this gap during installation.

B. Transition Molding Requirements:
-
Install T-molding at:
-
Every 45 feet in length or width of continuous floor space
-
All room-to-room doorways under 36" wide
-
Changes in flooring direction or between different floor types
C. Layout Strategy:
-
Measure the width of the room and divide by the width of a plank to calculate how many full planks fit across.
-
If the last row will be less than 2 inches wide, cut the first row narrower to balance the layout.
-
Plan for planks to run parallel to the longest wall or to incoming sunlight for visual appeal.
5. Required Tools & Safety Equipment
Essential Tools:
-
Measuring tape, level, pencil
-
Circular/table saw with carbide blade
-
Jigsaw or handsaw for notching
-
Tapping block, pull bar, and installation spacers
-
Rubber mallet or hammer
-
Vacuum or broom

Safety Gear:
-
Safety glasses
-
Cut-resistant gloves
-
NIOSH-rated dust mask or respirator (especially while cutting indoors)

6. Full Installation Process (Step-by-Step)
Step 1: First Row Placement
-
Begin in the left-hand corner of the room.
-
Place spacers along the wall to maintain a 3/8" expansion gap.
-
Lay the first plank with the tongue side facing the wall.
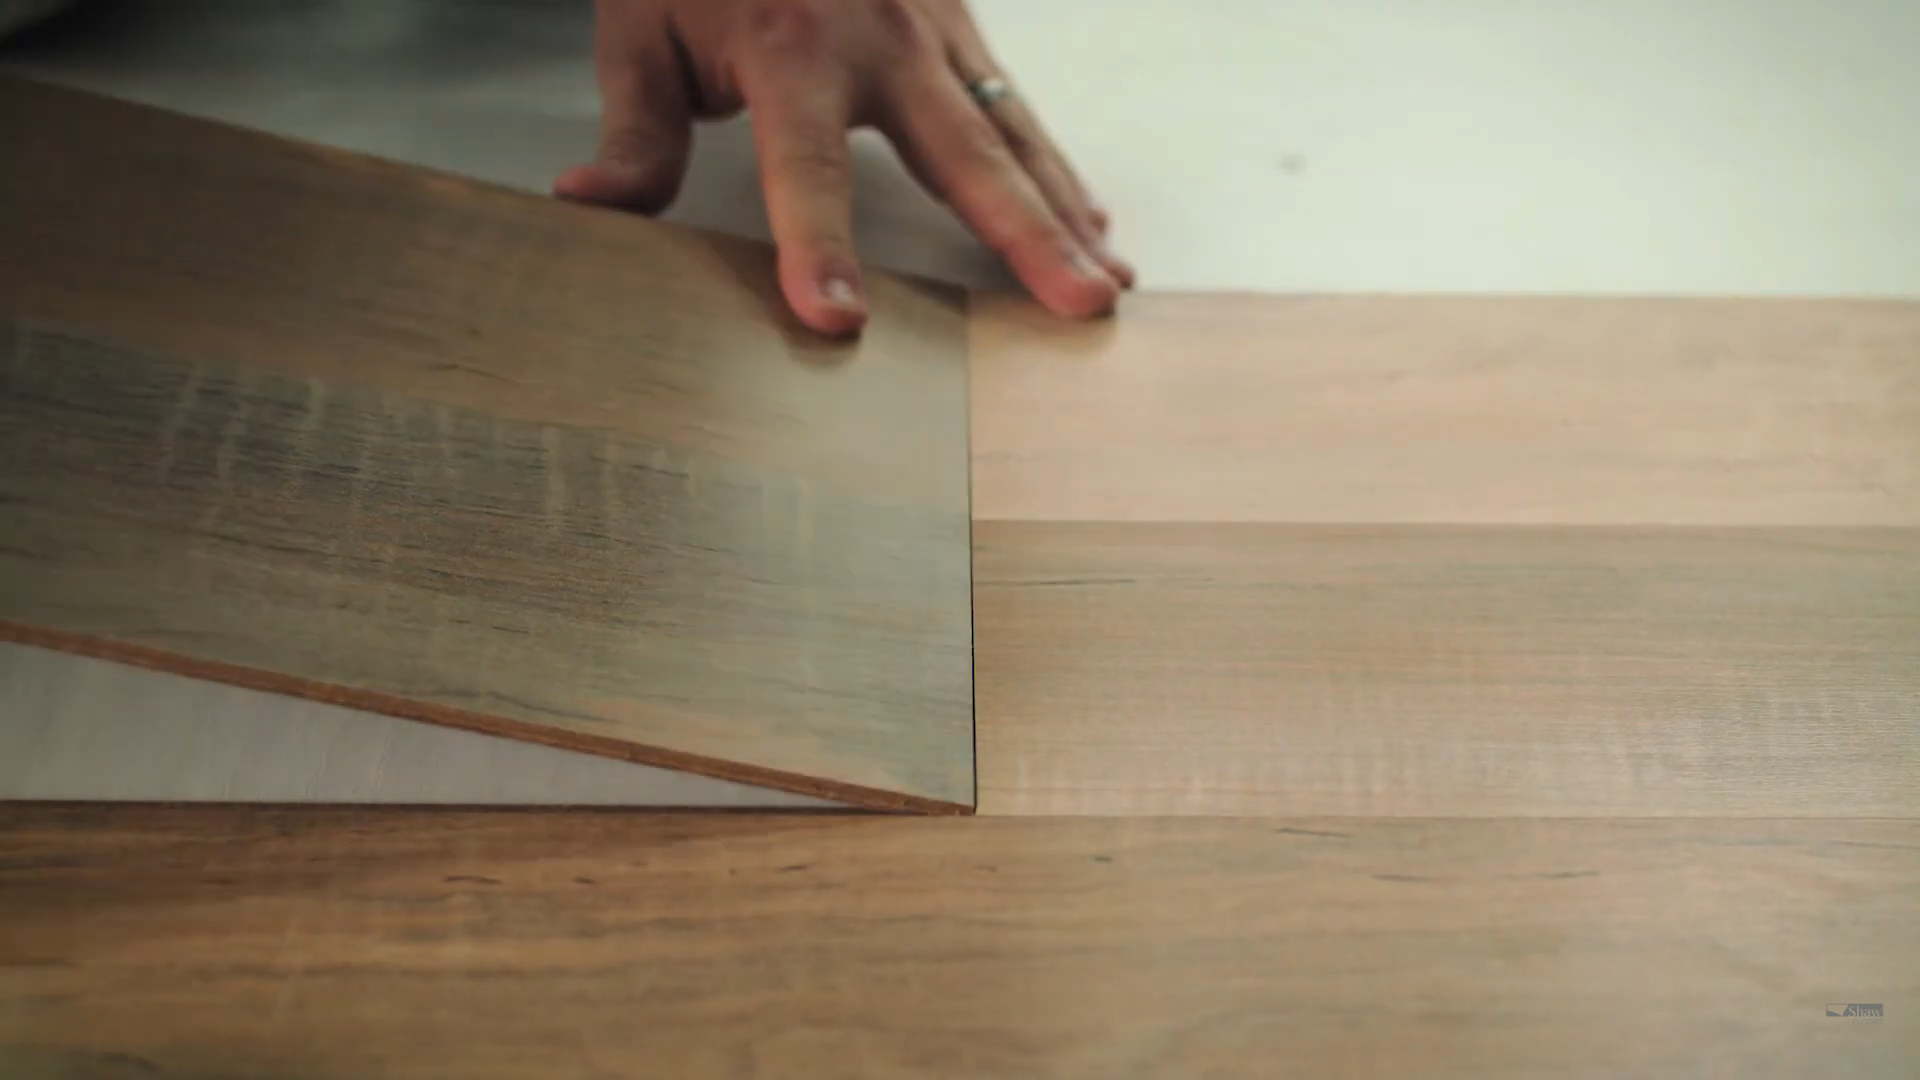
Step 2: Connecting Planks (Short End First)
-
Connect the short edge of the next plank by angling it into the end of the first plank.
-
Fold it down gently to lock into place.
-
Continue this process across the first row.
Step 3: Cutting End Planks
-
When you reach the end of the row, measure and cut the last plank to leave a 3/8" gap from the wall.
-
Use a straightedge and pencil for accurate cuts.
Step 4: Second Row & Staggering Joints
-
Use the leftover cut from the previous row (minimum 12" in length) to start the next row.
-
Insert the long side of the plank at a low angle into the previous row, then rotate down.
-
Tap gently with a tapping block to ensure a tight fit.
Step 5: Continue Installing Rows
-
Continue adding planks row by row.
-
Always stagger seams by at least 12–16 inches.
-
Check each joint for tightness. No visible gaps should exist.
-
Pull planks toward yourself to secure the lock.
Step 6: Navigating Obstacles & Door Frames
-
Undercut door jambs using a handsaw or oscillating multi-tool.
-
Use a scrap piece of plank as a guide for height.
-
For tight spaces where angling is not possible, remove the bottom groove and use laminate glue.
-
Use painter’s tape to secure the plank in place until the glue sets.
Step 7: Final Row Installation
-
Use a full-width plank to mark the contour of the wall.
-
Trace and cut with a jigsaw or handsaw.
-
Install the final row using a pull bar to ensure a tight fit.
Step 8: Remove Spacers & Install Moldings
-
Once installation is complete, remove all spacers.
-
Install baseboards or quarter-round to cover expansion gaps. Nail into the wall, not into the flooring.
-
In wet areas, apply silicone sealant with a foam backer rod along perimeters.
7. Final Inspection & Furniture Guidelines
-
Walk the entire floor to check for uneven joints or soft spots.
-
Clean up all debris and vacuum thoroughly.
-
Wait at least 24 hours before placing heavy furniture.
-
Use felt pads under all furniture legs.
-
Do not drag furniture—lift and place it gently.
8. Post-Installation Maintenance
Daily Cleaning:
-
Dry sweep or vacuum with a hard floor attachment (no beater bar)
-
Damp mop with Shaw TOTALCARE® Hard Surface Cleaner
Spill Management:
-
Wipe spills immediately with a dry or slightly damp cloth
-
For stubborn stains (gum, wax, tar), use acetone or alcohol and a plastic scraper
What to Avoid:
-
Wet mops or excessive water
-
Steam mops
-
Abrasive cleaners, bleach, or polish
-
Allowing liquids to pool
Long-Term Protection:
-
Use doormats at all entrances
-
Trim pet nails regularly
-
Use vinyl-backed rugs and avoid rubber mats
9. Repair & Board Replacement
Minor Repairs:
-
Use Shaw Colour-Fill kit to correct small scratches or surface imperfections
Board Replacement:
-
Disassemble the flooring backward from the damaged plank
-
Replace with a properly acclimated new plank
-
Reassemble planks in order and reinstall moldings
For fixed areas (e.g., under cabinets):
-
Use adhesive installation with proper edge trimming
-
Press into place and secure with painter’s tape until dry
10. Warranty Coverage & Important Disclaimers
Shaw’s Limited Warranty Includes:
-
Lifetime structural integrity (for residential use)
-
30-year surface wear, stain, and fade coverage
Voided Warranty If:
-
Subfloor conditions are out of spec
-
Expansion gaps are not maintained
-
Floors are exposed to standing water or wet mopping
-
Improper adhesives or cleaning agents are used
For warranty questions, call Shaw at 1-800-441-7429 or refer to your product’s warranty documentation.
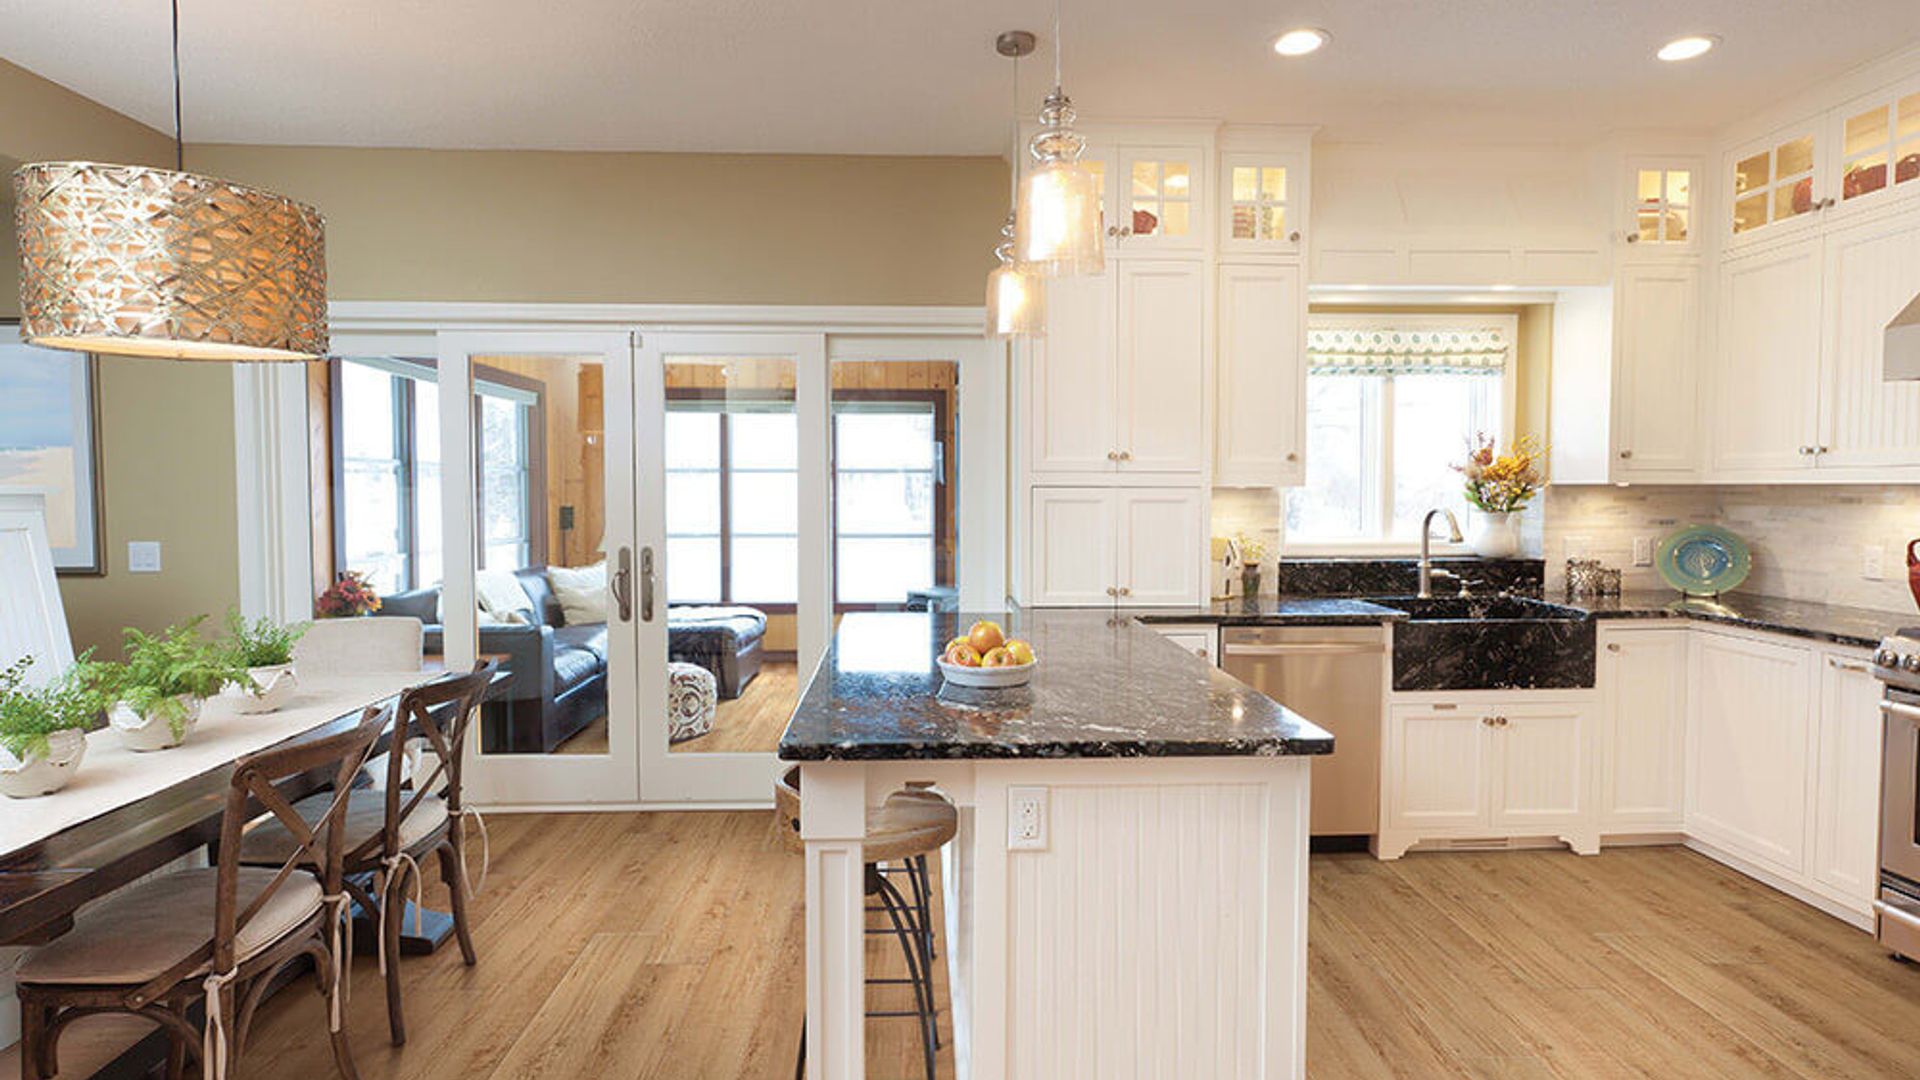
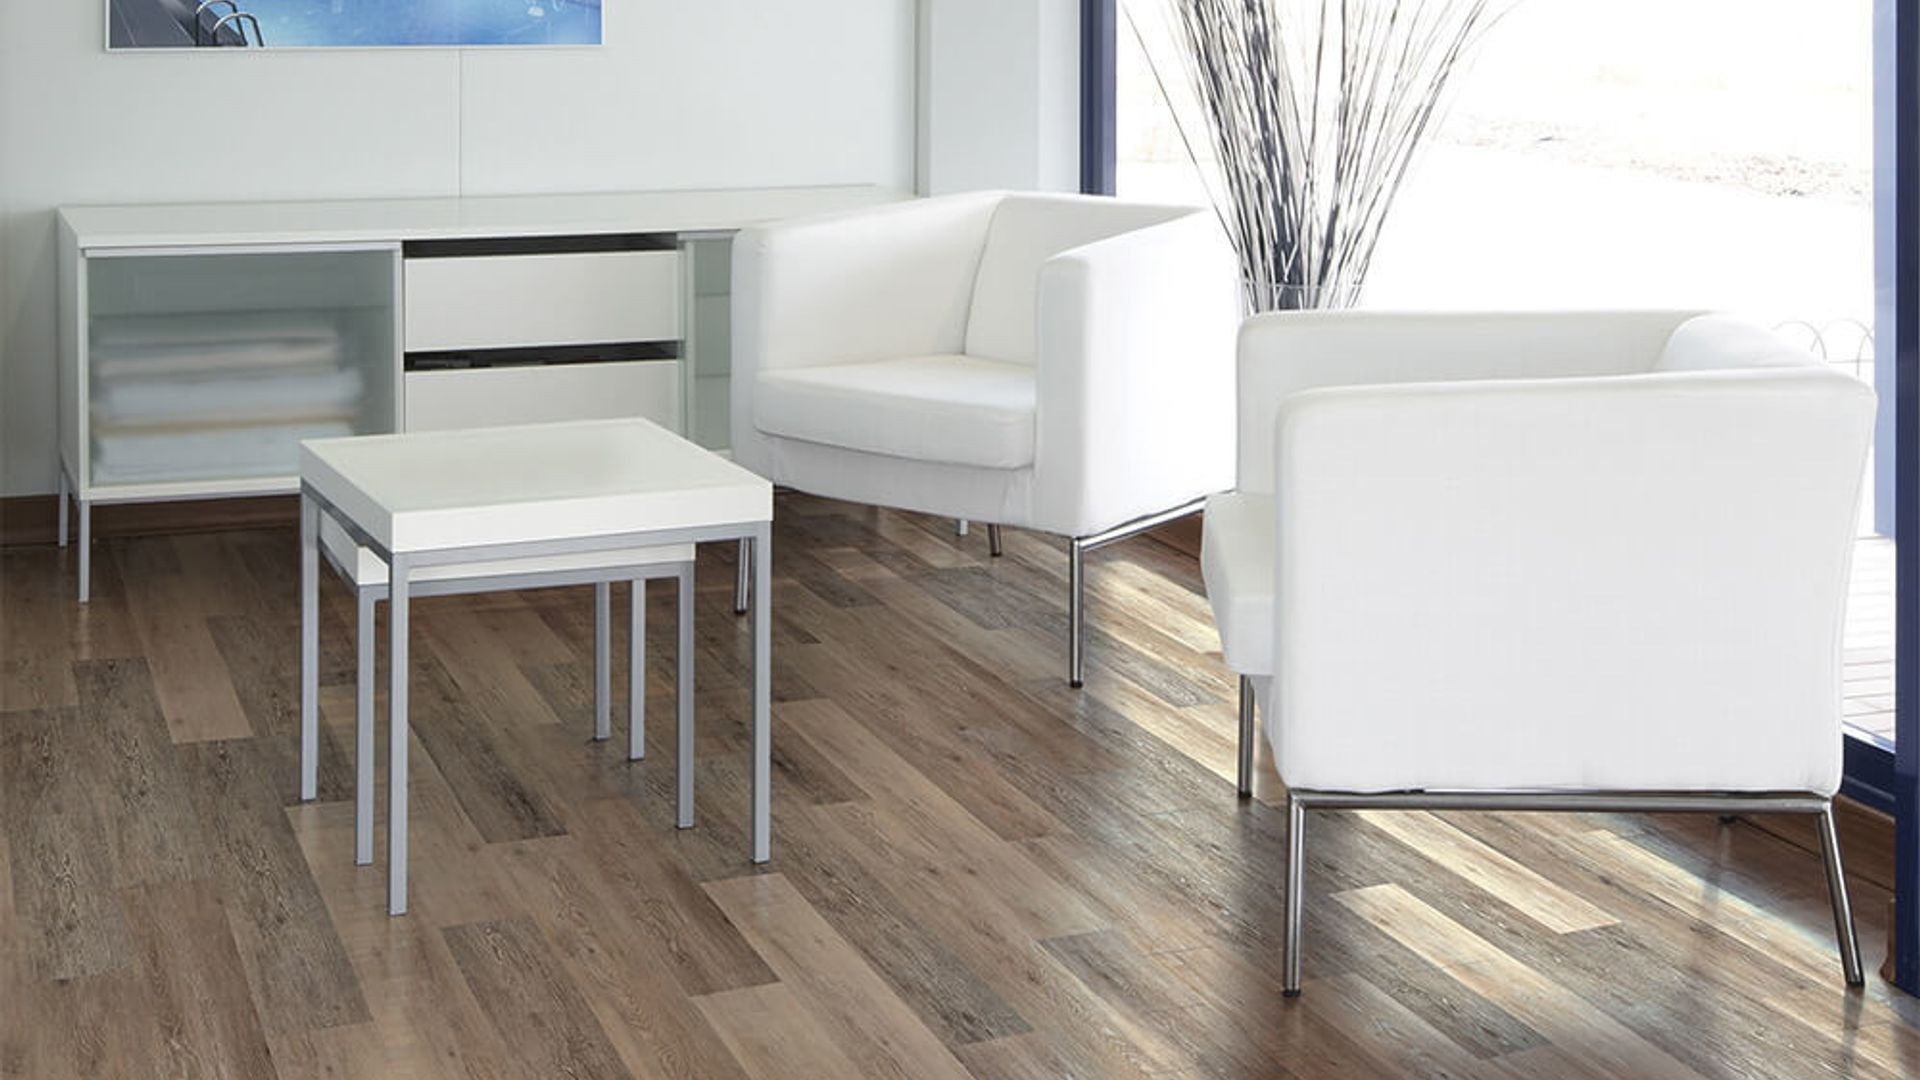
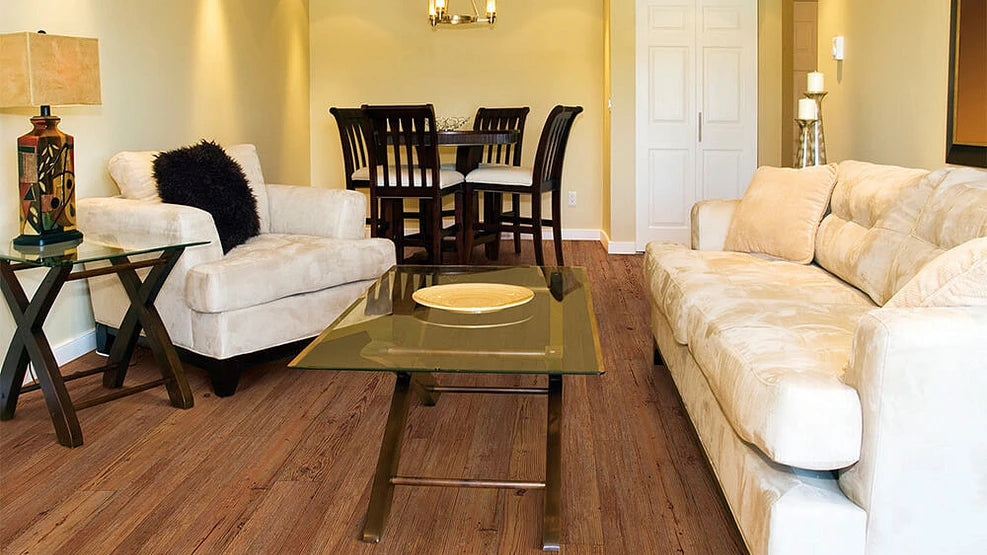
Built to Perform, Designed to Impress
Installing Shaw laminate flooring is a practical and beautiful upgrade for any space. With its click-lock system, waterproof technology, and rich visual textures, you get the warmth of hardwood without the cost or complications. By following this detailed guide and adhering to all installation guidelines, you’ll enjoy a seamless, worry-free floor for years to come.
Ready to choose your floor? Visit our full Shaw Laminate Flooring Collection for styles, samples, and expert support.